Instructions for Android
Configuring the library and rendering the first DivView
Setting up dependencies
Add the following dependencies to your app's build.gradle.kts (Kotlin DSL). Replace <divkit-version> with the release you want to use and <okhttp-version> with the OkHttp version used by your app. You can find DivKit versions on the releases page.
val divkitVersion = "<divkit-version>"
val okhttpVersion = "<okhttp-version>"

dependencies {
    implementation("com.yandex.div:div:$divkitVersion")
    implementation("com.yandex.div:div-core:$divkitVersion")
    implementation("com.yandex.div:div-json:$divkitVersion")
    implementation("com.yandex.div:div-network-okhttp:$divkitVersion")
    implementation("com.yandex.div:coil:$divkitVersion")
    implementation("com.squareup.okhttp3:okhttp:$okhttpVersion")
}
The examples below use Coil. If you choose Glide instead, replace the com.yandex.div:coil dependency with com.yandex.div:glide using the same DivKit version.
For network access, declare the following permission inside <manifest> in your app's AndroidManifest.xml:
<uses-permission android:name="android.permission.INTERNET" />
Configuring the network stack
DivKit accepts a shared DivNetworkClient for submit actions, its built-in SVG fallback loader, and default patch downloads. This lets you reuse your app's HTTP settings, interceptors, and cookies for these requests.
Note
Configure DivKit once during application initialization, before the first call to DivKit.getInstance() or creation of a Div2Context. Creating a Div2Context also initializes the shared DivKit instance.
Use your app's existing OkHttpClient, or create one as shown below. Keep hostOkHttpClient available to the code that creates the image loader.
import com.yandex.div.core.DivKit
import com.yandex.div.core.DivKitConfiguration
import com.yandex.div.network.OkHttpDivNetworkClient
import okhttp3.OkHttpClient

val hostOkHttpClient = OkHttpClient.Builder().build()
val networkClient = OkHttpDivNetworkClient(hostOkHttpClient)

DivKit.configure(
    DivKitConfiguration.Builder()
        .networkClient(networkClient)
        .build()
)
An explicitly configured DivDownloader or DivRequestExecutor takes precedence for its requests. Lottie, Media3, and Beacon integrations require the network client to be passed explicitly to their constructors. Configuring DivKitConfiguration does not connect those integrations automatically.
The primary image loader uses its own network stack. Pass hostOkHttpClient to CoilDivImageLoader, as shown below, or configure Glide's networking in your app. SVG images handled by the primary loader also use that loader's network stack.
Creating DivConfiguration
Create a DivConfiguration using the same hostOkHttpClient that you passed to OkHttpDivNetworkClient. Here, context is an Android Context.
import com.yandex.div.coil.CoilDivImageLoader
import com.yandex.div.core.DivConfiguration

val imageLoader = CoilDivImageLoader(context, hostOkHttpClient)
val configuration = DivConfiguration.Builder(imageLoader).build()
DivConfiguration.Builder requires a DivImageLoader. You can implement your own loader or use CoilDivImageLoader or GlideDivImageLoader.
Both bundled loaders support SVG. For a custom loader that reports no SVG support, DivKit uses its built-in SVG fallback for URLs whose path ends in .svg.
Creating DivData
The JSON document contains a card object and an optional templates object. Parse templates before the card when they are present. This helper also accepts cards without templates:
import com.yandex.div.data.DivParsingEnvironment
import com.yandex.div.json.ParsingErrorLogger
import com.yandex.div2.DivData
import org.json.JSONObject

fun JSONObject.asDiv2DataWithTemplates(): DivData {
    val environment = DivParsingEnvironment(ParsingErrorLogger.LOG)
    optJSONObject("templates")?.let { environment.parseTemplates(it) }
    return DivData(environment, getJSONObject("card"))
}
Handling the card and outputting to the screen
Let's output a short piece of text to the screen:
val card = """
{
    "card": {
        "log_id": "text",
        "states": [
            {
                "state_id": 0,
                "div": {
                    "type": "text",
                    "text": "Hello, DivKit!"
                }
            }
        ]
    }
}
""".trimIndent()
Create the view on the main thread, for example inside onCreate of an AppCompatActivity. In this snippet, this refers to that Activity, which provides both the themed context and the lifecycle owner. yourViewGroup is an existing container in the Activity's layout; configuration is the configuration created above.
import com.yandex.div.DivDataTag
import com.yandex.div.core.Div2Context
import com.yandex.div.core.view2.Div2View
import org.json.JSONObject

val divData = JSONObject(card).asDiv2DataWithTemplates()
val divContext = Div2Context(
    baseContext = this,
    configuration = configuration,
    lifecycleOwner = this
)
val div2View = Div2View(divContext)
div2View.setData(divData, DivDataTag("your_unique_tag_here"))
yourViewGroup.addView(div2View)
If you've done everything correctly, you'll see "Hello, DivKit!" on the screen.
View an interactive example
Handling user actions
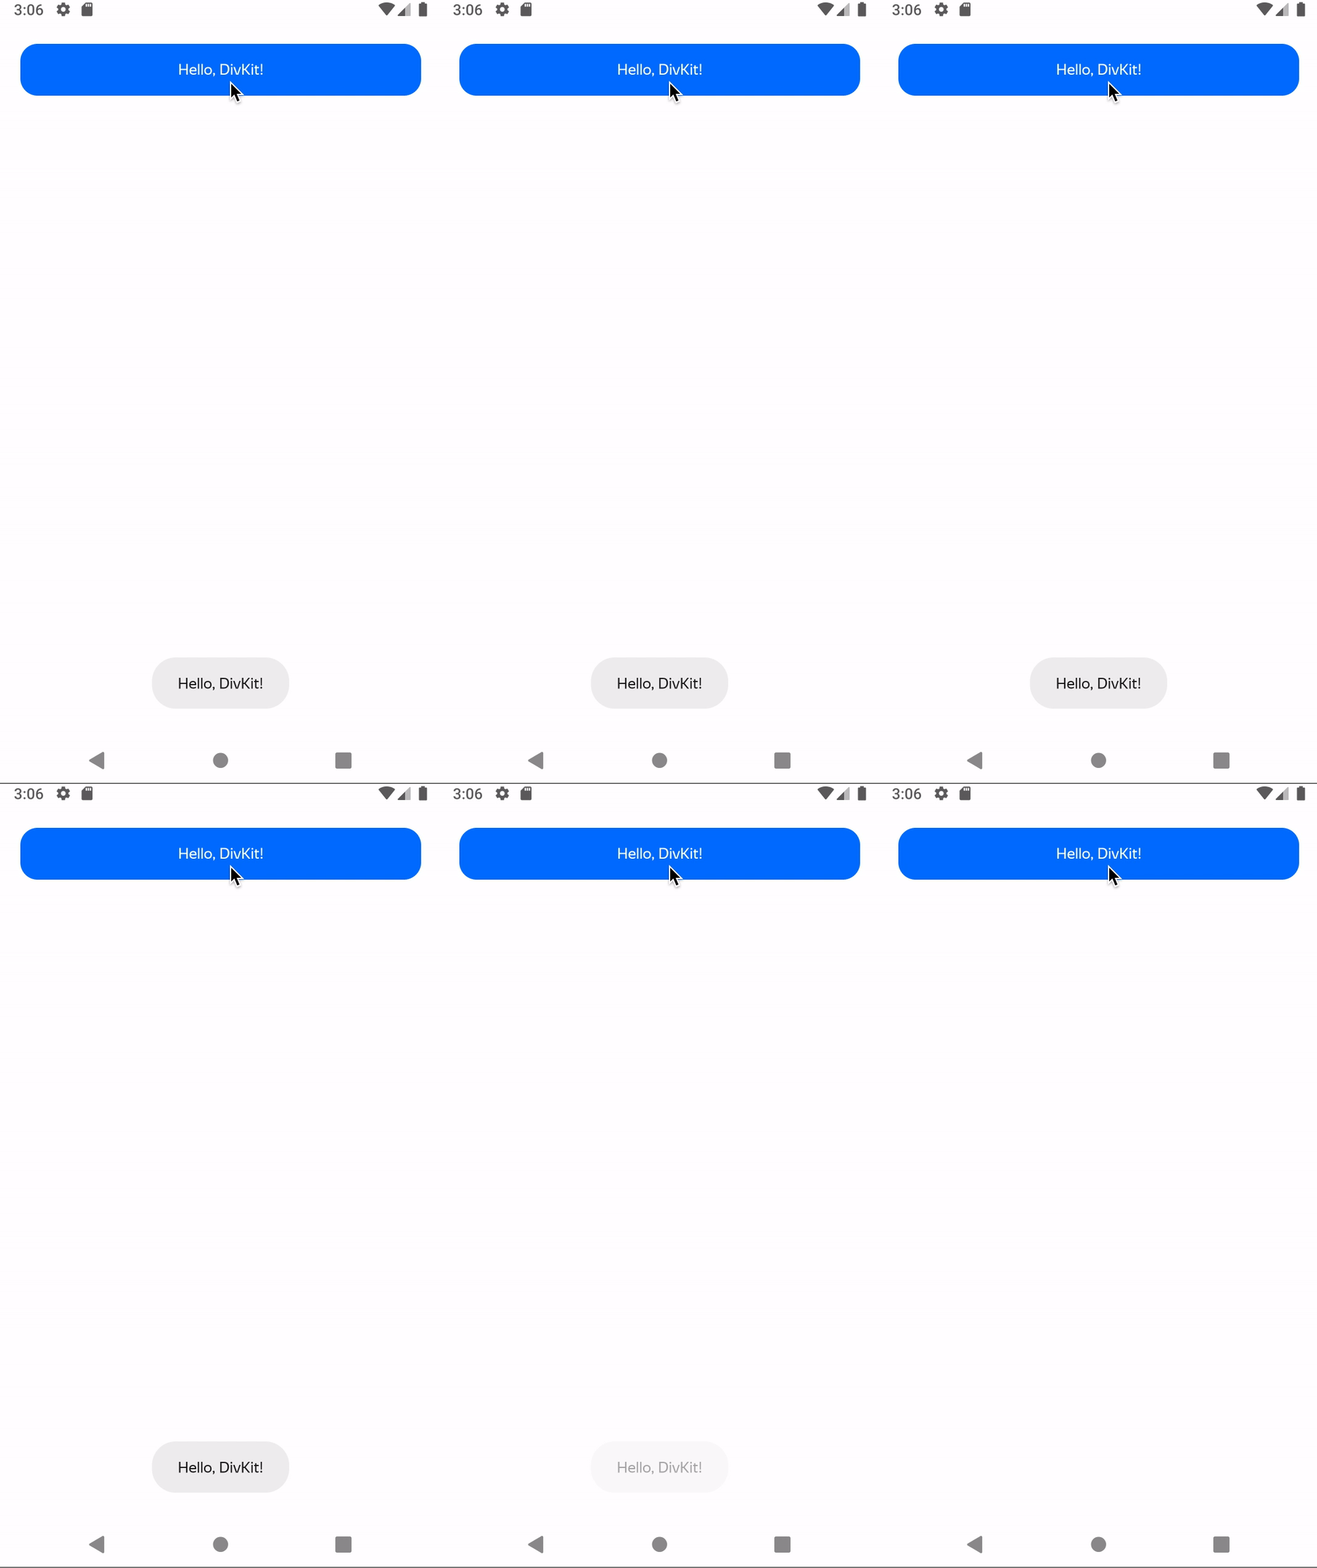
To make the interface interactive, add action handling. For example, let's turn a text into an interactive button that will display an Android Toast on tap.
JSON modification
DivKit deliberately doesn't have high-level entities, such as "product card" or "button". Any element can be a button. Let's change the "Hello, DivKit!" appearance and add a tap action:
View an interactive example
In the example, we changed the element's appearance: we added rounded corners and margins, changed the background and text color, added a tap animation, and changed the text position inside the View. And most importantly, we added a tap action:
    "actions": [
        {
            "log_id": "button_pressed",
            "url": "notification://show-toast?text=Hello%2C%20DivKit%21"
        }
    ]
Support for new actions at the code level on Android
To handle new types of actions, you need to use your own DivActionHandler implementation and add it to DivConfiguration.
Let's start with the DivActionHandler implementation:
import android.widget.Toast
import com.yandex.div.core.DivActionHandler
import com.yandex.div.core.DivViewFacade
import com.yandex.div.json.expressions.ExpressionResolver
import com.yandex.div2.DivAction

class NotificationDivActionHandler : DivActionHandler() {
    override fun handleAction(
        action: DivAction,
        view: DivViewFacade,
        resolver: ExpressionResolver
    ): Boolean {
        if (super.handleAction(action, view, resolver)) {
            return true
        }

        val uri = action.url?.evaluate(resolver) ?: return false
        if (uri.authority != "show-toast" || uri.scheme != "notification") return false
        val text = uri.getQueryParameter("text") ?: return false

        Toast.makeText(view.view.context, text, Toast.LENGTH_LONG).show()
        return true
    }
}
Call the super.handleAction(action, view, resolver) method to keep the default actions functional. If the action hasn't yet been handled, we check for the custom URL scheme and show a Toast. Use the supplied resolver to evaluate the action URL in its current scope.
Add NotificationDivActionHandler() when building the configuration, before creating Div2Context and Div2View. Replace the earlier configuration snippet with:
    val configuration = DivConfiguration.Builder(imageLoader)
        .actionHandler(NotificationDivActionHandler())
        .build()
This is the way you can influence not only the state of the card itself, but also the entire app from the JSON layout.
Sample project
A ready-to-run example is available on GitHub: a minimalistic app demonstrating basic DivKit integration with custom fonts, an action handler, and extensions (Rive, Markdown, pinch-to-zoom).
Learn more
You can discuss topics of interest in the DivKit user community in Telegram: https://t.me/divkit_community_en.